“Ever spent $50 on a mat splitter only to have it break after one use? Yeah, we’ve all been there.”
Grooming your pet should be as smooth as their freshly detangled fur. But if you’re skimping on tool inspection protocols, even the best mat splitter can turn into a grooming nightmare. Today, we’ll dive deep into how proper tool checks save time, money, and stress while keeping your furry friend happy.
In this guide, you’ll learn:
- The importance of inspecting pet grooming tools.
- Step-by-step instructions for evaluating mat splitters.
- Tips and tricks to extend the lifespan of your tools.
Table of Contents
- Key Takeaways
- Why Tool Inspection Protocols Are Essential in Pet Grooming
- How to Inspect Your Mat Splitter Like a Pro
- Best Practices for Maintaining Mat Splitters
- Real-Life Example: A Tale of Two Groomers
- FAQs About Tool Inspection Protocols for Mat Splitters
Key Takeaways
- Regular inspections prevent costly replacements and injuries during grooming sessions.
- Proper cleaning and storage are critical to maintaining mat splitter performance.
- Investing in quality tools upfront pays off in durability and ease of maintenance.
Why Tool Inspection Protocols Are Essential in Pet Grooming
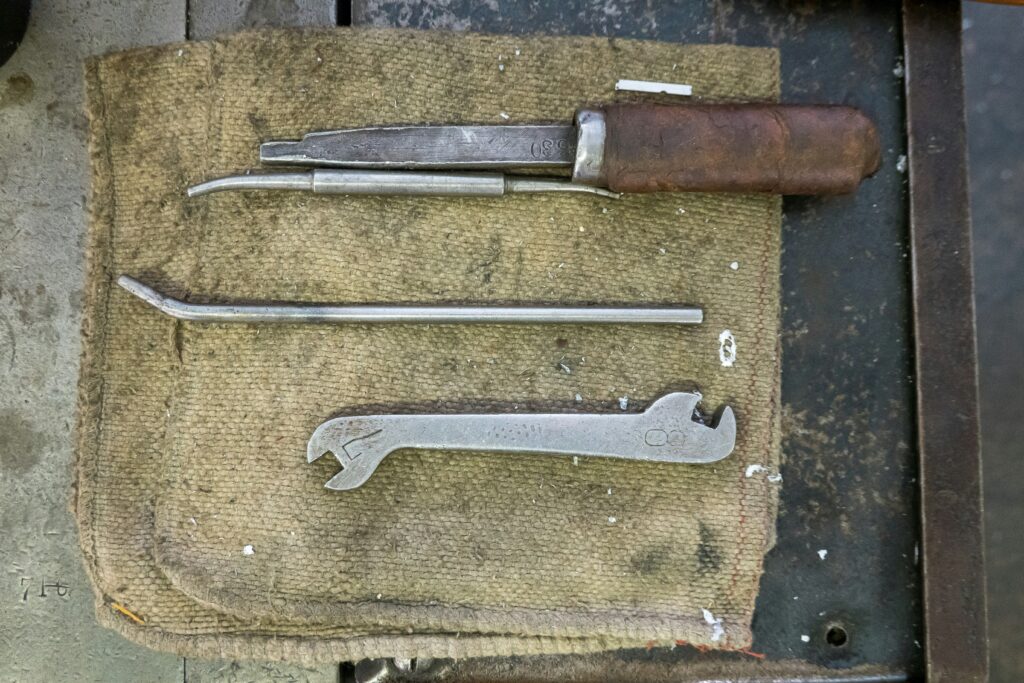
Pet grooming isn’t just about aesthetics; it’s also about health. Mats can trap dirt, bacteria, and moisture, leading to painful infections or skin irritations. Enter the humble yet mighty mat splitter. This essential tool helps remove stubborn tangles without pulling at your pet’s sensitive skin—but only if it’s working correctly.
A veterinarian inspects a mat splitter before recommending its usage for home grooming tasks.
Here’s the kicker: Most groomers skip tool inspection altogether. Why? It feels tedious. But here’s the harsh truth—a poorly maintained tool is worse than no tool. Imagine trying to cut through dense mats with dull blades—it’s not effective, and it frustrates both you and your pet.
Confession time: I once tried using an old mat splitter that had visible rust spots because “it still worked.” Spoiler alert: It didn’t work well and left my dog looking like she’d been attacked by a lawnmower. Lesson learned.
“Optimist Me:* ‘You’ve got this! Follow these tips.'”
“Grumpy Me: ‘Ugh, fine—but grab coffee first.'”*
How to Inspect Your Mat Splitter Like a Pro
Ready to master tool inspection protocols? Let’s walk through a foolproof process step-by-step:
Step 1: Visual Examination
Start by holding your mat splitter under good lighting. Look for signs of physical damage such as chips, cracks, or bent edges. Pay close attention to the blade area—any dullness indicates it’s time for sharpening or replacement.
Step 2: Check for Rust
Water exposure is the enemy of metal tools. Dab some rubbing alcohol onto a cotton swab and run it along the blade edges. If you see brown residue, it’s rust—and your splitter needs immediate TLC.
Step 3: Test Functionality
Cut through a piece of scrap fabric (or leftover holiday ribbon!). Does it glide effortlessly, or do you have to force it? Difficulty cutting is a red flag.
Step 4: Handle Grip Assessment
Slippery handles can cause accidents. Make sure the grip is comfortable and secure. Replace any worn-out rubber grips ASAP.
Best Practices for Maintaining Mat Splitters
Prevention beats cure every time. Here are actionable tips to ensure your mat splitter stays in peak condition:
- Clean After Each Use: Wipe down the blades with a damp cloth and dry thoroughly.
- Lubricate Moving Parts: Apply a small amount of non-toxic machine oil monthly.
- Store Properly: Keep tools in a cool, dry place away from humidity.
WARNING: Never toss your mat splitter in the dishwasher. Yes, some people actually try this. Don’t be *those* people.
Rant Break:
Why is it so hard to find affordable, high-quality mat splitters?! Seriously, companies, stop nickel-and-diming us with flimsy junk marketed as “professional-grade.” My dog deserves better. YOU deserve better.
Real-Life Example: A Tale of Two Groomers
Meet Sarah, a meticulous pet groomer who religiously follows tool inspection protocols. Her clients rave about her ability to untangle matted fur painlessly. On the flip side, meet Jake, who ignores maintenance entirely. Guess which one gets more repeat customers? That’s right—Sarah wins hands down.
Sarah (left) keeps her tools pristine, while Jake’s collection shows neglect over time.
FAQs About Tool Inspection Protocols for Mat Splitters
Q: How often should I inspect my mat splitter?
A: Ideally, before each grooming session. Regular checks catch small issues before they become big problems.
Q: Can I resharpen a dull mat splitter myself?
A: Yes, but proceed with caution. Using a handheld sharpening stone works wonders if done carefully. Otherwise, consult a professional sharpener.
Q: What’s the most common mistake pet owners make when inspecting tools?
A: Overlooking minor details like slight rust spots. These may seem harmless but can quickly worsen over time.
Conclusion
Grooming your pet shouldn’t feel like battling a medieval dragon armed with faulty armor. By implementing these tool inspection protocols, you’ll save money, avoid frustration, and keep your four-legged companion healthy and content.
Remember, consistency is key. Treat your mat splitter like a cherished kitchen knife—not something you abuse until it breaks. And hey, maybe reward yourself with a latte for staying consistent with those inspections. You earned it.
Blades sharp, handles strong,
Mat splitting made easy—phew!
Happy pets, happy life.
“Just like a Tamagotchi, your pet grooming tools need daily love and care.”