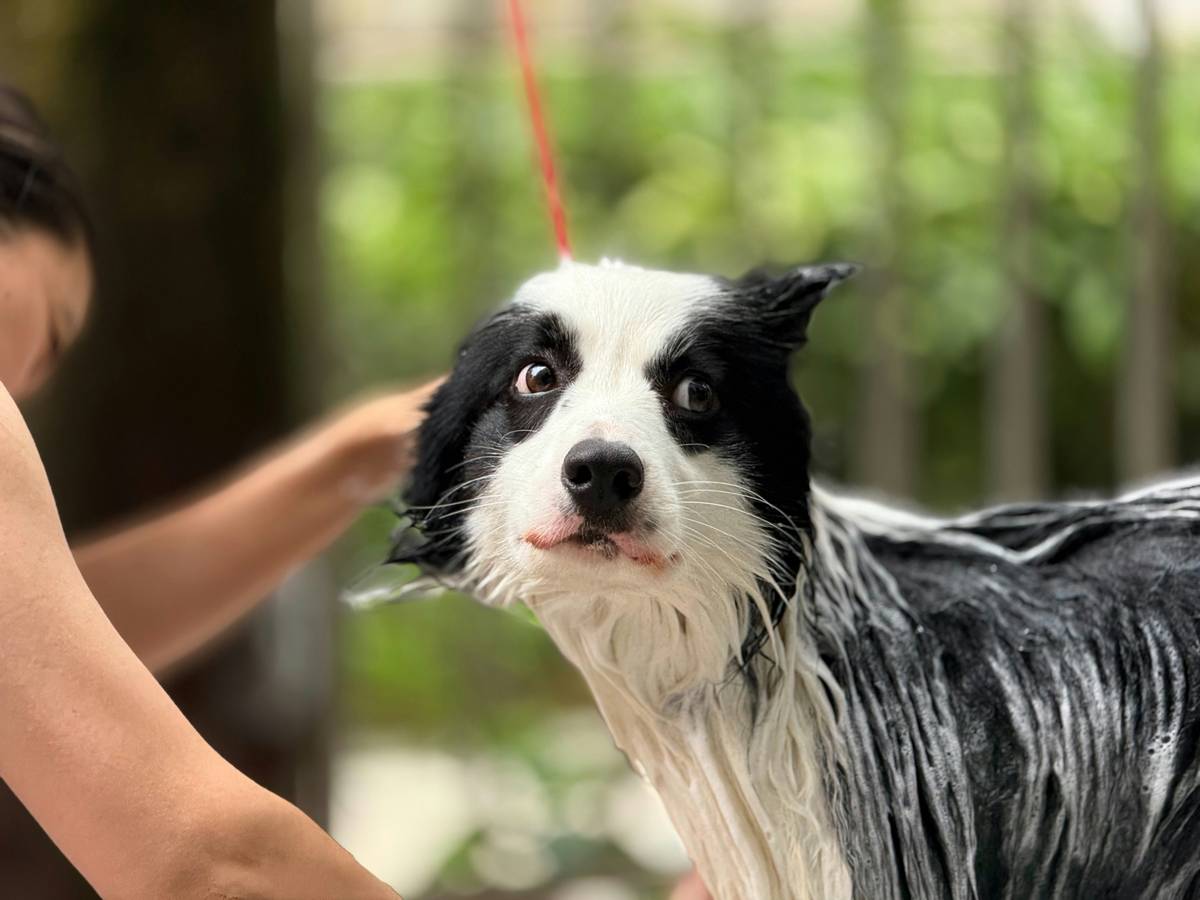
Ever spent hours scrubbing pet mats only to end up with a soggy mess? Yeah, we’ve all been there. Pet grooming can feel like an uphill battle when you’re dealing with matted fur, especially if your tools aren’t cutting it (literally). What if I told you that mastering one tool—mat splitters—could save you hours of frustration and make bath time less tear-inducing (for both of you)?
In this post, I’ll walk you through everything you need to know about keeping those pesky mats under control, from why they happen in the first place to using mat splitters effectively. You’ll learn:
- The real reason behind stubborn mats
- A step-by-step guide to using mat splitters safely
- Tips on preventing future tangles
- And yes—we’re even throwing in some brutally honest advice because sometimes life hands us lemons.
Table of Contents
- Key Takeaways
- The Matting Nightmare Explained
- Step-by-Step Guide to Using Mat Splitters
- Tips for Long-Lasting Mat-Free Fur
- Real-Life Success Stories
- FAQs About Pet Mat Care
- Conclusion
Key Takeaways
- Pets get mats due to lack of regular brushing—not laziness!
- Mat splitters are not just for pros; anyone can use them properly.
- Prevention beats cure: Consistent grooming is key.
- Avoid cheap tools—they’ll harm more than help.
- Patience is essential; don’t rush or risk injuring your pet.
Why Does My Dog’s Coat Look Like It Lost a Fight? The Matting Nightmare Explained
Here’s my confession: Once upon a time, I tried ignoring a tiny knot on my Golden Retriever’s back leg thinking, “Eh, it’ll sort itself out.” Boy was I wrong. A week later, what started as a small bump had turned into a rock-hard mat so dense it could’ve doubled as a frisbee.
Let me break this down for you:
“Optimist You: It’s just fluff—it’ll brush out!”
Grumpy You: Nope, buddy, prepare yourself for battle.”
The truth is, mats form when loose hair gets trapped close to the skin instead of shedding naturally. Without proper care, dirt, oils, and moisture create a sticky web that traps even more hair until voilà—a mat emerges.
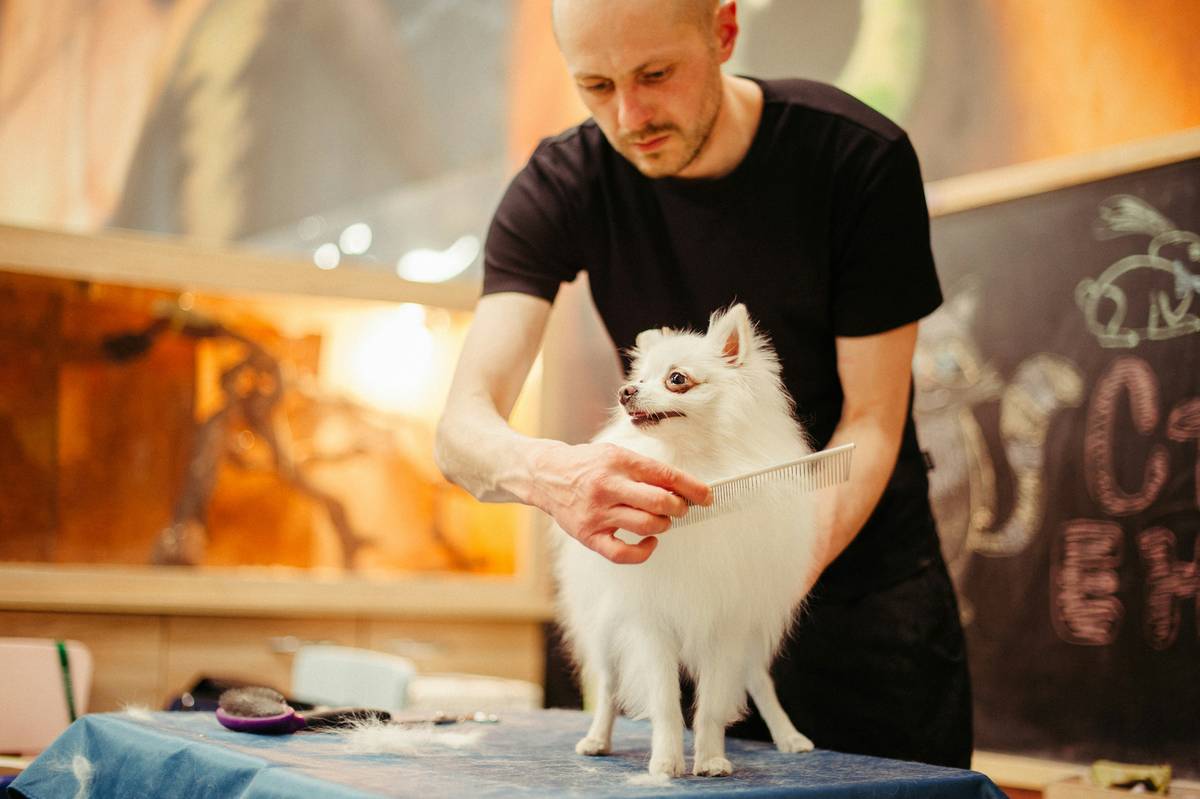
How to Master Your Mat Splitter Without Losing Your Mind
Now let’s dive deep into how to use mat splitters like a pro:
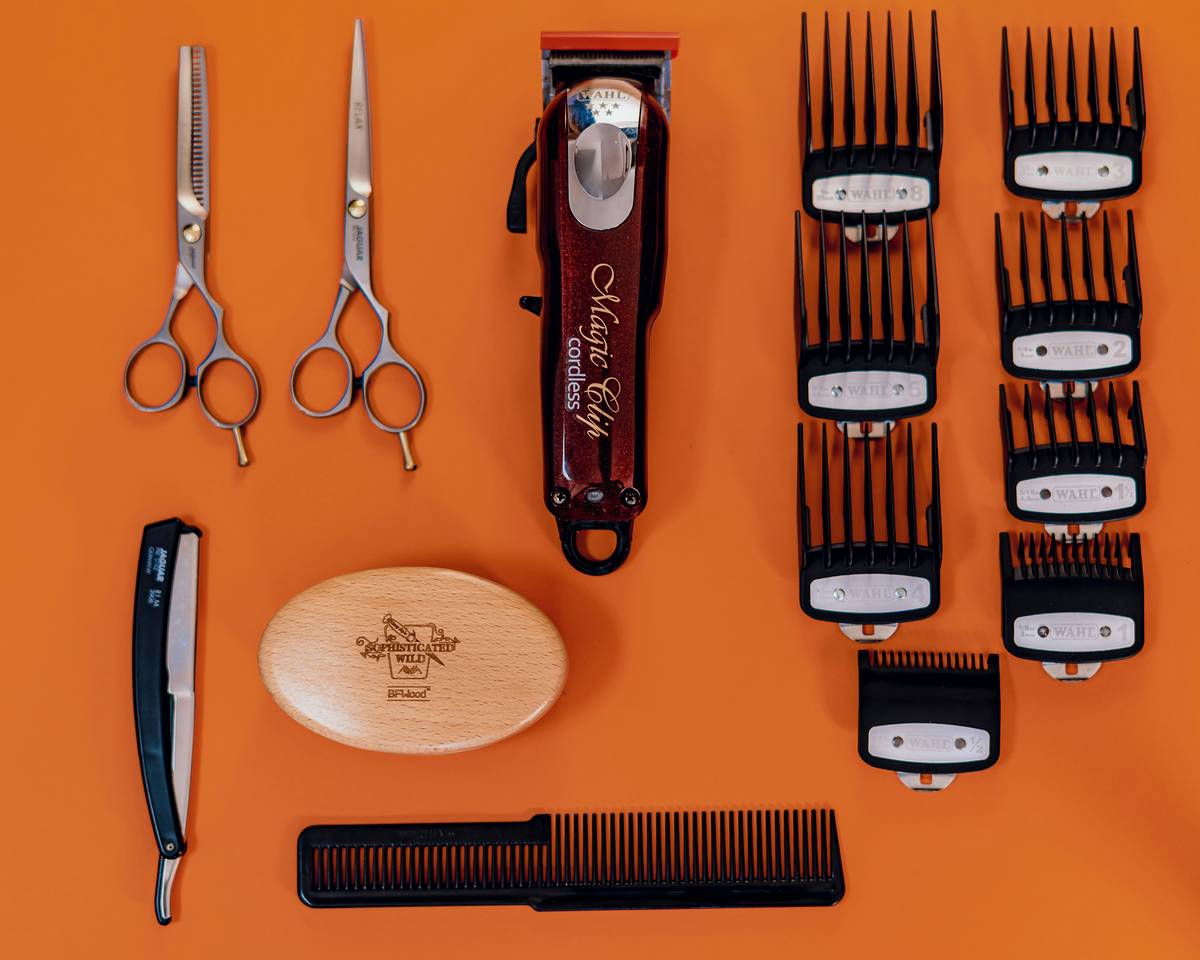
Step 1: Gather Supplies Before Disaster Strikes
You’ll need three essentials:
- A high-quality mat splitter (cheap ones will shred fur).
- Leave-in conditioner spray (to loosen knots).
- Rubber grooming gloves (optional but clutch).
Step 2: Prep Your Pup Physically—and Mentally
Spritz the matted area lightly with a leave-in spray, then gently massage it into the fur. Tell Fido he’s brave—positive reinforcement works wonders!
Step 3: Slice Through the Knot
Holding the mat splitter parallel to your pet’s body, start cutting *above* the base of the mat (never near the skin). Work slowly, snipping away at small sections rather than going full Edward Scissorhands.
Step 4: Follow Up With Brushing
Once the mat is gone, grab a slicker brush to detangle remaining strands. If your dog still has sensitive spots, switch to rubber gloves for gentler touch-ups.
6 Genius Pet Mat Care Tip You Won’t Believe Actually Work
#1: Never Use Human Hair Products On Pets
This might sound obvious, but hear me out—I once mistakenly sprayed detangler meant for my own locks onto my pup’s fur. The result? Sticky residue that took forever to clean off.
#2: Keep Grooming Tools Sharp
Dull blades = ineffective cuts = frustrated human. Replace worn-out tools every six months to avoid unnecessary tears.
#3: Schedule Regular Sessions
Daily five-minute brushes prevent big problems later. Commitment = freedom from chaos.
#4: Invest In Quality Over Quantity
Yes, expensive gear stings upfront—but trust me, cheaper alternatives cost way more in vet bills later.
#5: Terrible Tip Alert: NEVER Shave Down To Skin
I cannot stress this enough—shaving too close increases irritation risks and exposes raw patches prone to infection.
#6: Use Music To Calm Everyone Down
Turn on soft tunes while grooming—it helps both parties relax. Bonus points if Taylor Swift makes an appearance.
From Matted Mess to Fluffy Star: Real-Life Stories
Take Luna, a rescue mix who came home looking like she’d been dragged through a bush backwards. After weeks of consistent mat splitting sessions combined with daily brush routines, her coat transformed into glossy waves worthy of shampoo commercials. Her owner swears by patience above all else.
Another success story involves Max, whose double-coated breed required special attention. By following our tips religiously, his human drastically reduced shedding AND improved his overall behavior during baths (turns out comfort = less anxiety!).
Got Questions? We’ve Got Answers!
What causes pets to develop mats?
Mats occur when dead hair doesn’t shed properly, trapping oil and debris against the skin.
Is it okay to cut mats myself?
As long as you approach gently and have proper tools, yes. But always check for skin sensitivity first.
Can I prevent mats entirely?
Absolutely—with diligent maintenance schedules tailored to each pet’s coat type.
Wrap-Up: Stay Ahead of Mats with These Killer Pet Mat Care Tip Tips!
Grooming may never top anyone’s list of favorite chores, but armed with these strategies, you’re officially equipped to tackle any tangle without losing your cool (or sanity). Remember:
- Invest in quality tools.
- Work patiently and cautiously.
- Stay consistent with routine upkeep.
Like a Tamagotchi, your pet’s coat requires daily TLC—but trust me, seeing their happy wagging tail afterward makes it worth every second.
Whiskers groomed and bright,
Furry friends frolic freely.
Peace restored at last.