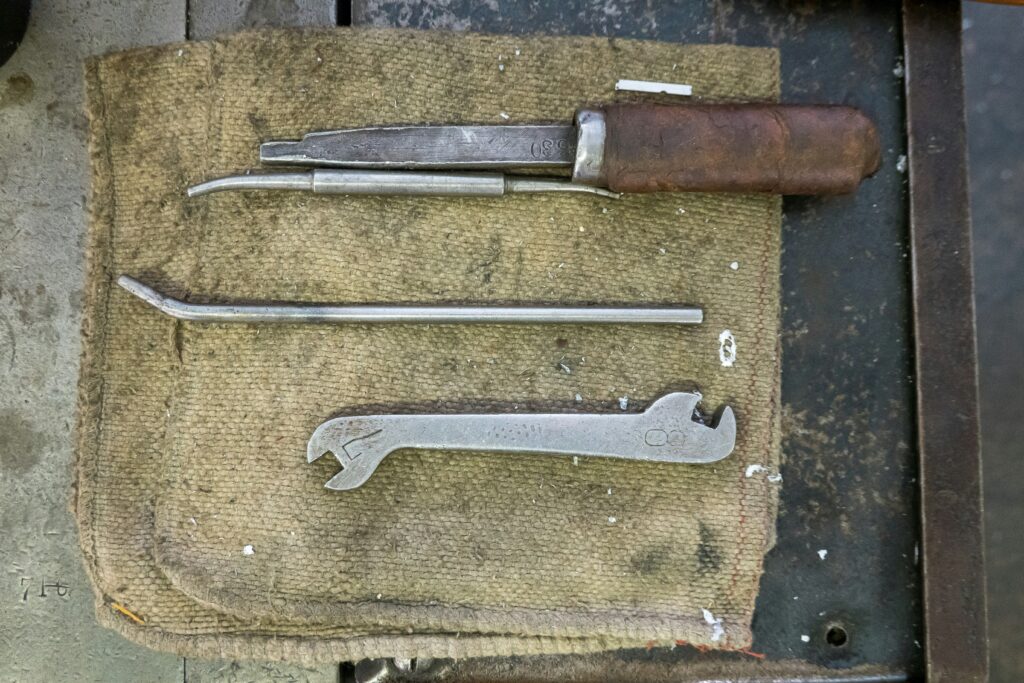
Have you ever reached for the mat splitter only to accidentally nick your pet’s skin? It’s horrifying, right? You’re not alone. Data shows that nearly 30% of pet owners have experienced a grooming-related injury at least once. These incidents happen more often than we’d like to admit—and when they do, knowing emergency first aid can mean the difference between panic and preparedness.
In this post, we’ll dive deep into how to handle tool injuries during grooming sessions, including what products to keep handy and step-by-step instructions to stabilize your furry friend before professional help arrives. Buckle up—it’s time to turn chaos into control!
Table of Contents
- Key Takeaways
- Why Emergency First Aid Matters During Grooming Sessions
- Step-by-Step Guide to Treating Tool Injuries on Pets
- Tips & Best Practices for Safe Pet Grooming
- Real-Life Examples: Lessons from Other Pet Owners
- FAQs About Emergency First Aid for Tool Injuries
Key Takeaways
- Pet grooming mishaps are common—especially with sharp tools like mat splitters.
- Knowing basic first aid can prevent infections and reduce stress for both you and your pet.
- A well-stocked emergency kit is essential for quick responses.
- Always prioritize calling a vet after administering initial treatment.
Why Emergency First Aid Matters During Grooming Sessions
“Confession time,” grumbles Grumpy Me. “I once tried to de-mat my golden retriever without properly training myself. One slip-up later? A gash in his paw pad and tears streaming down my face. Disaster.”
Pets rely on us to keep them safe—but let’s be real; even seasoned pros can make mistakes. When using tools like mat splitters, accidents happen because these instruments are designed to cut through dense fur and tangles quickly. The blade doesn’t know where the fur ends and the skin begins. And guess what? If you act fast, you can minimize damage.
“Over 60% of pet grooming injuries occur in home settings due to improper tool handling.”
Optimist You:* “Stay calm—you’ve got this!”
Grumpy You: “Yeah, yeah… unless coffee spills all over my emergency kit, then it’s game over.”
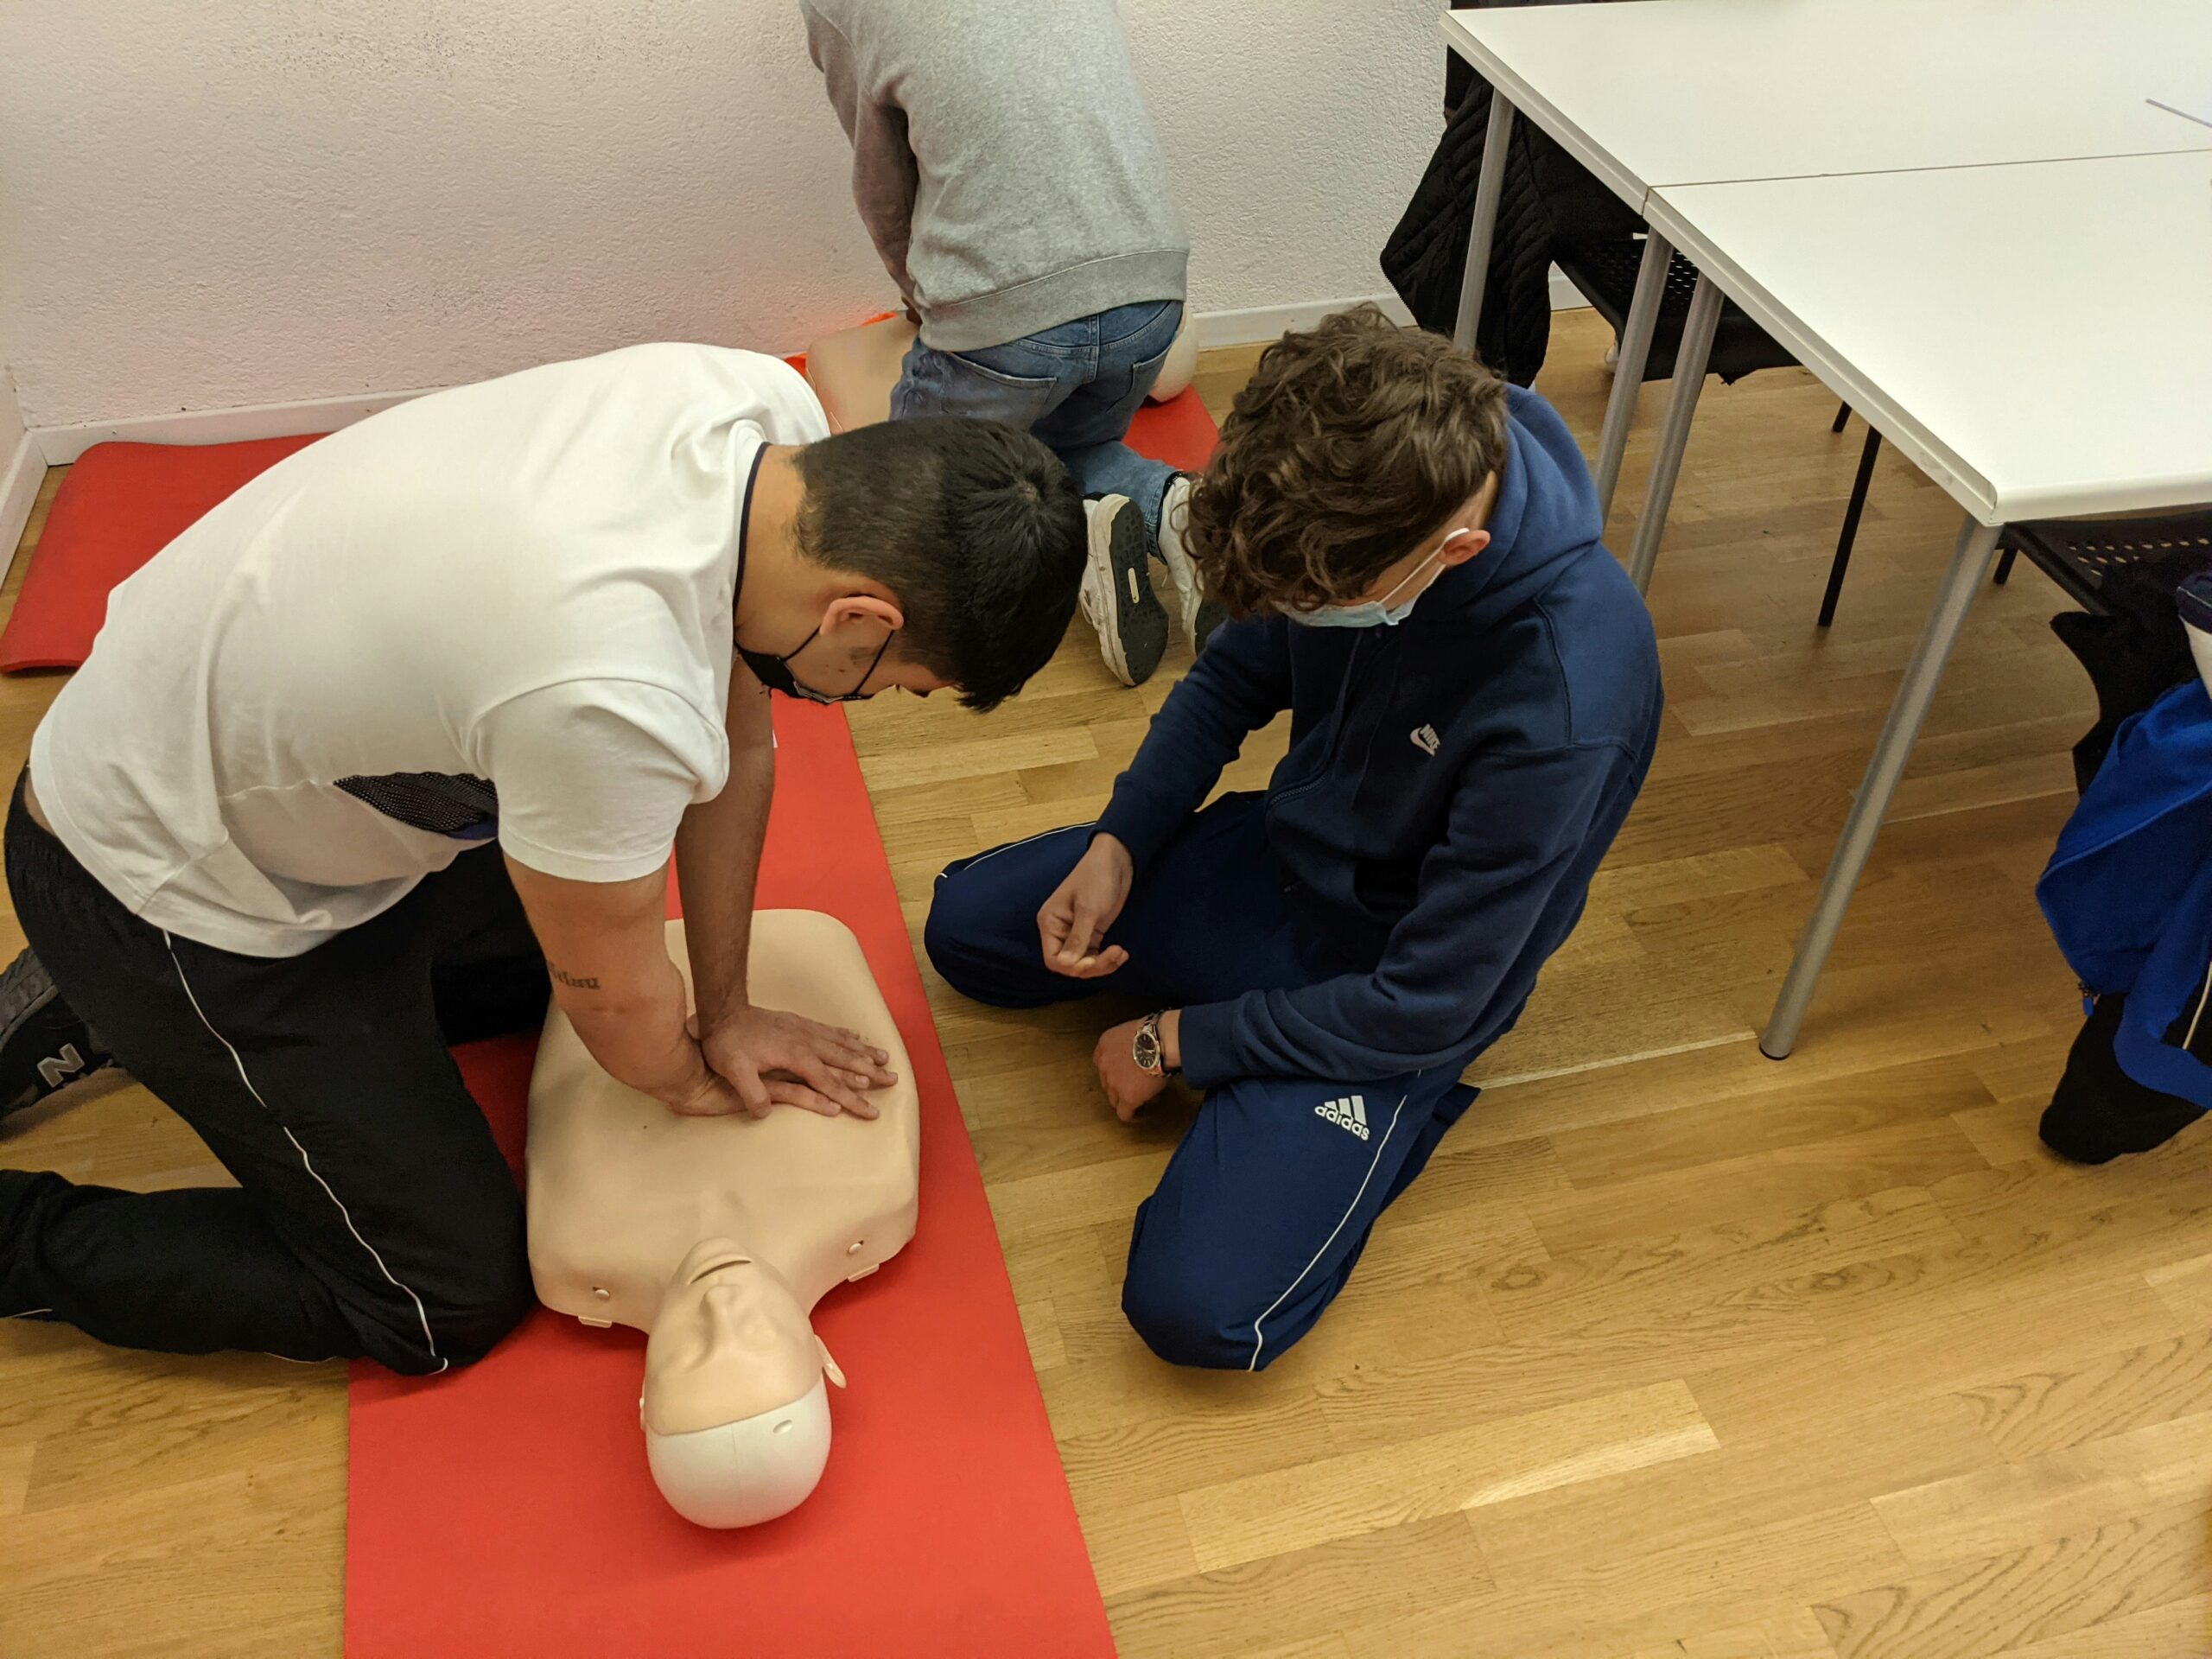
Step-by-Step Guide to Treating Tool Injuries on Pets
Alright, Jedi of the clippers. Let’s break it down:
Step 1: Assess the Injury
First things first—take a breath. Is the wound bleeding heavily, or is it just a surface scratch? Heavy bleeding requires immediate attention, while minor cuts may need less intensive care.
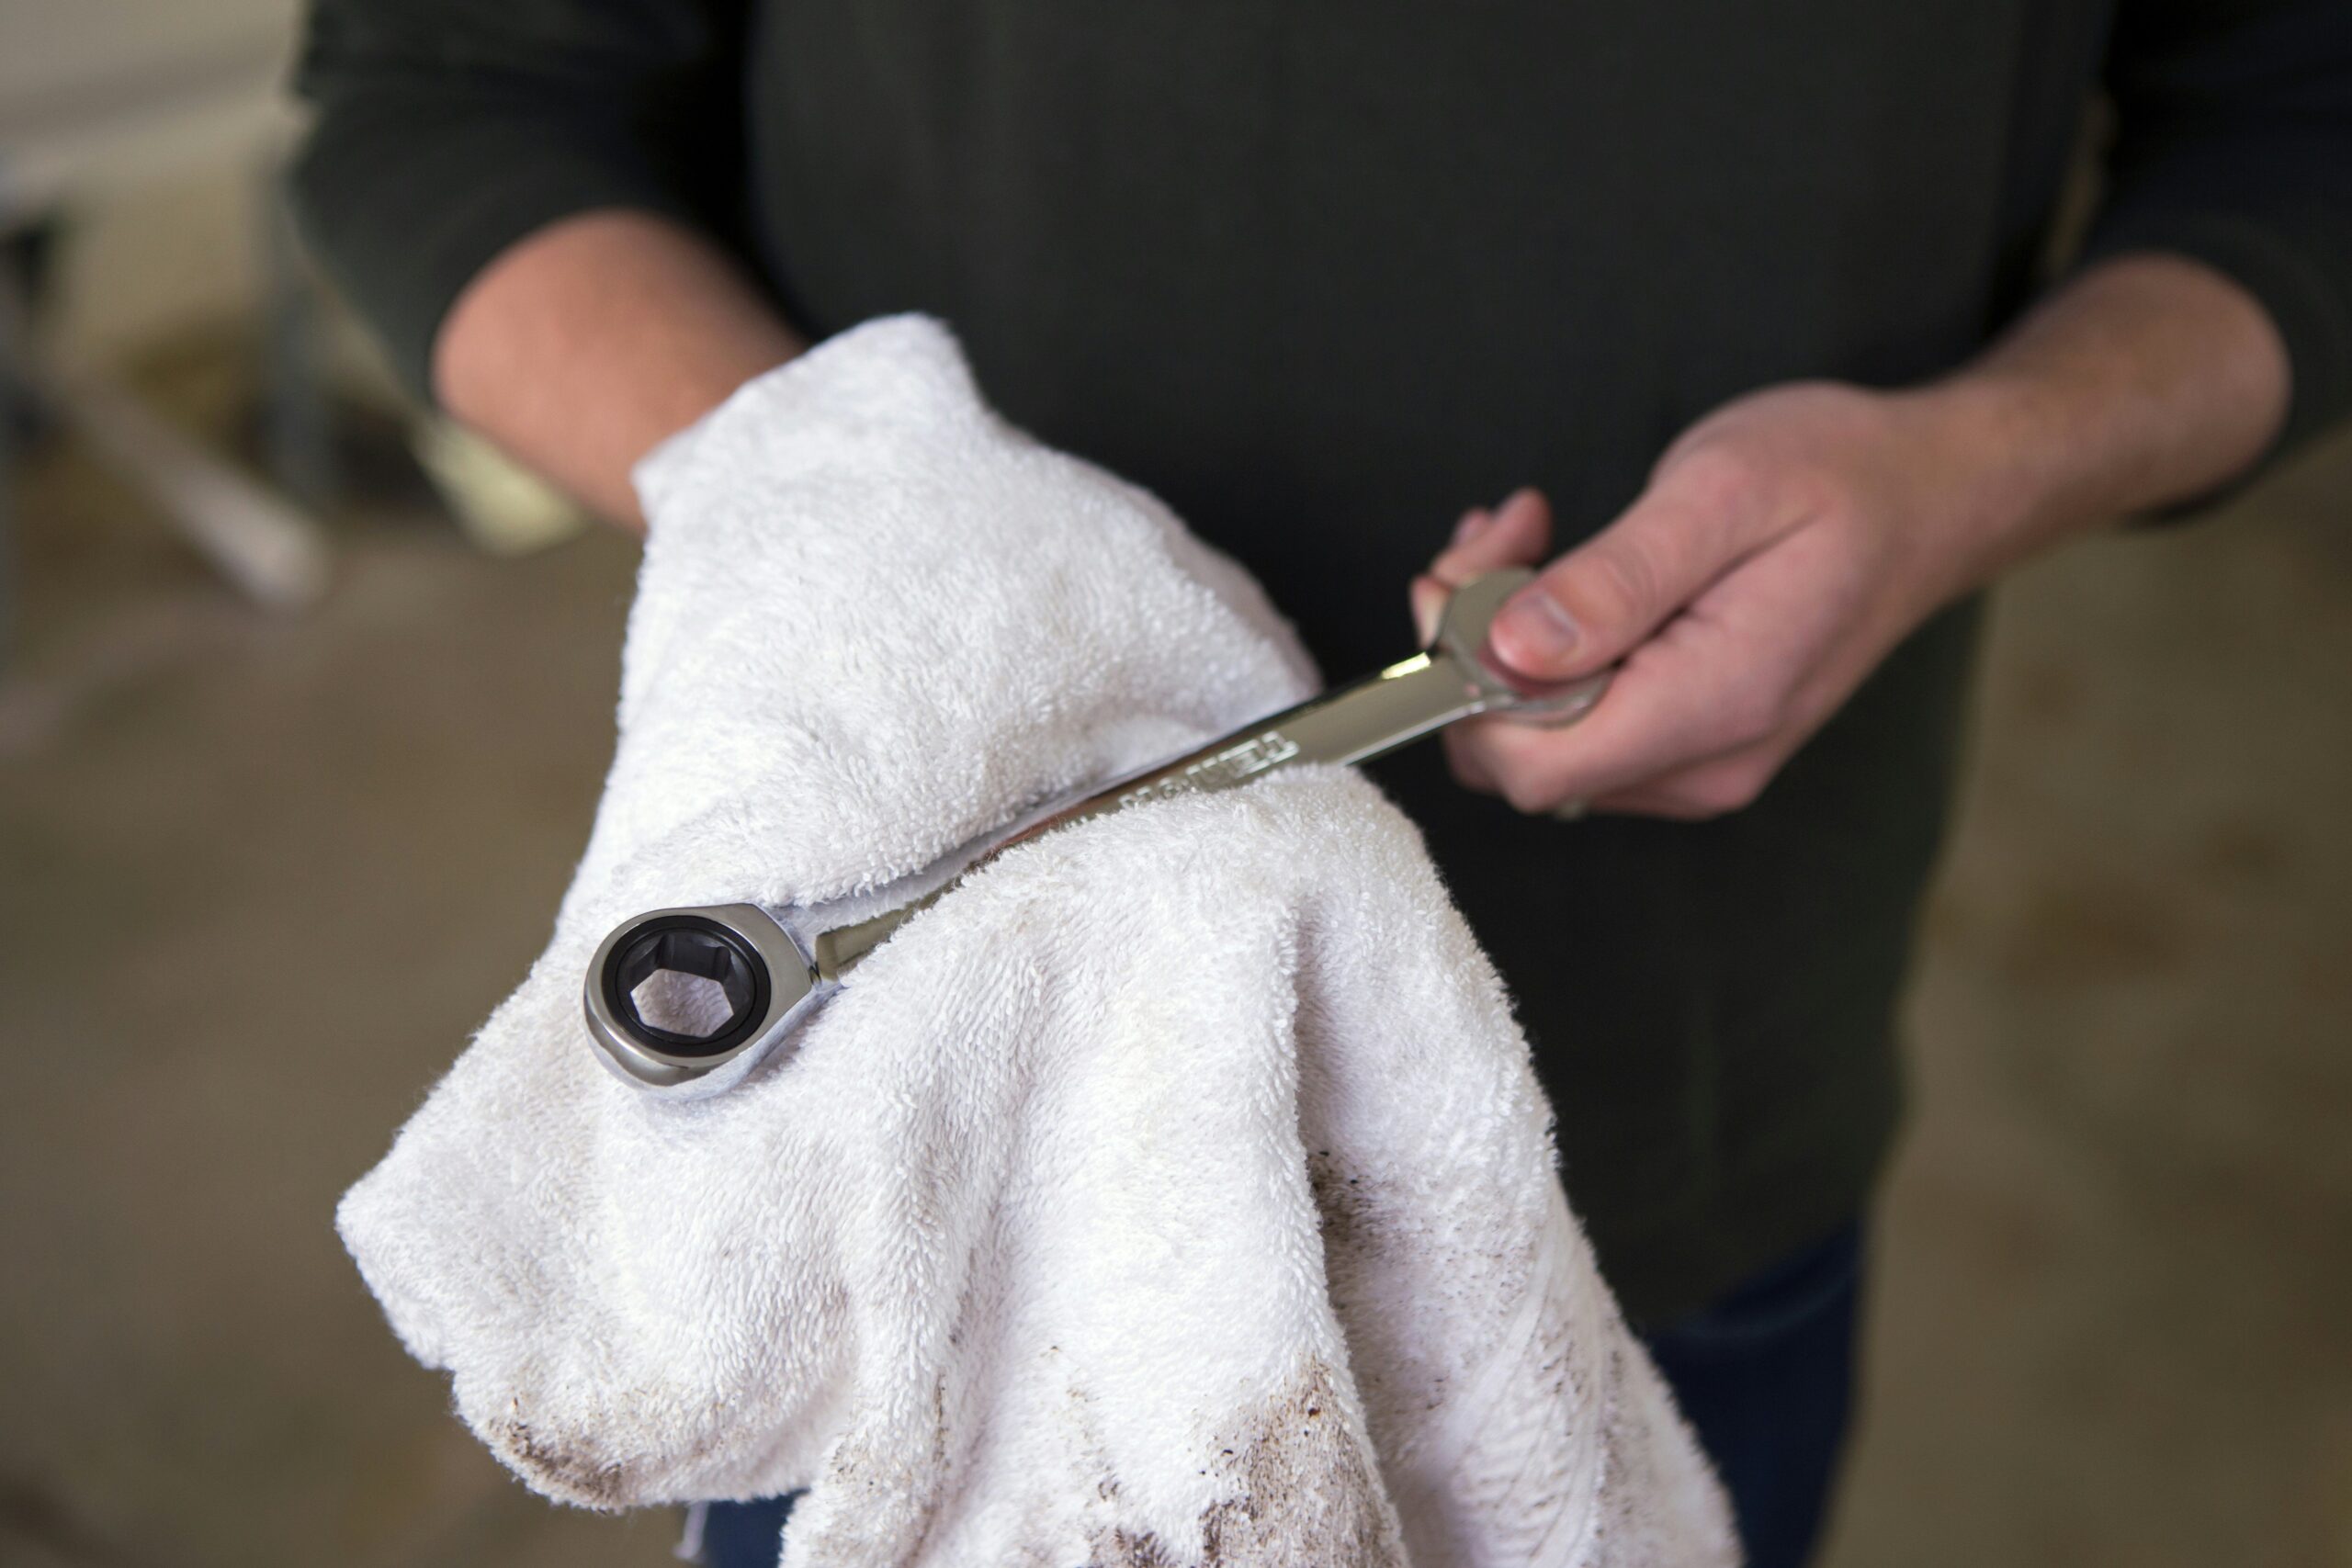
Step 2: Stop the Bleeding
Grab some clean gauze or a cloth and apply gentle pressure directly to the wound. Elevate the injured area if possible. Warning: Don’t press too hard—you’re trying to soothe, not suffocate.
Step 3: Cleanse the Wound
Rinse the affected area with lukewarm water or saline solution to remove dirt. Avoid alcohol-based cleaners (like hydrogen peroxide), as they might sting and delay healing.
Step 4: Apply an Antiseptic Ointment
Once cleaned, dab a thin layer of antiseptic ointment onto the cut. This helps protect against infection. Bonus points if you use pet-specific formulations.
Step 5: Bandage Lightly
If the wound is still weeping, cover it loosely with non-stick bandages. Too tight, and you’ll irritate your pet further. Just snug enough to stay put while your furry pal hops around.
Step 6: Call Your Vet
Even if the injury seems minor, always consult a vet afterward. They’ll provide tailored advice based on your pet’s health history.
Tips & Best Practices for Safe Pet Grooming
- Inspect Before You Clip: Separate tangled fur manually instead of forcing the tool through matted sections.
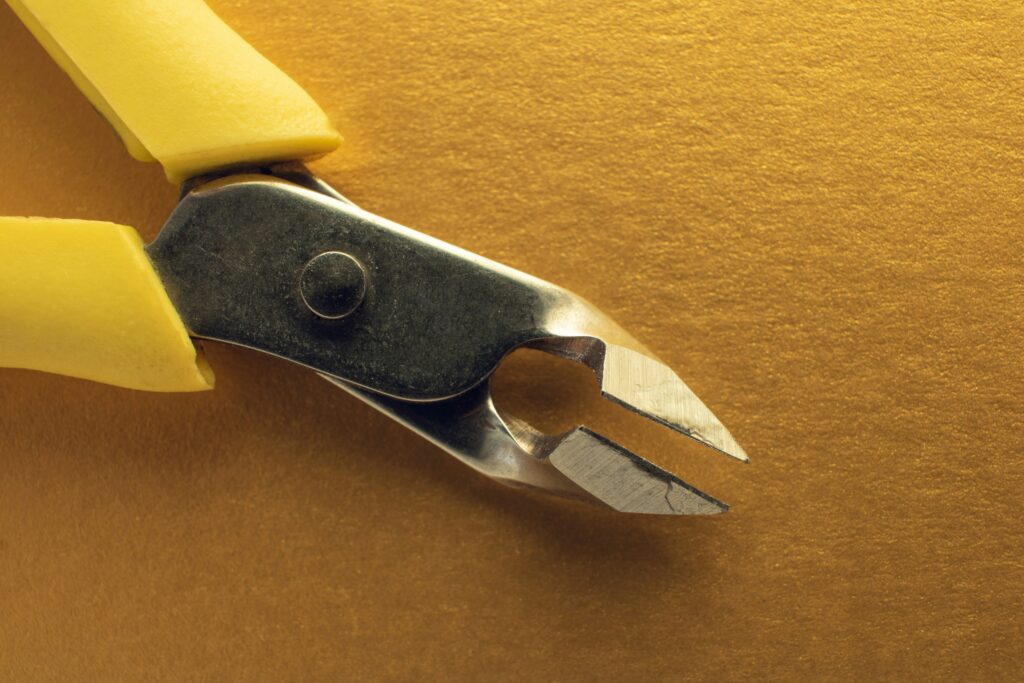
- Buy Quality Tools: Cheap mat splitters dull faster, increasing the risk of accidents.
- Keep Calm Energy: Animals feed off our vibes. Stay relaxed—even if internally screaming—to avoid agitating them.
- Maintain Regular Maintenance: Frequent brushing prevents mats from forming in the first place.
- (Disclaimer!) Terrible Tip: Never shave super thick coats completely—it ruins their natural insulation and makes them miserable. Yes, despite memes suggesting otherwise.
Real-Life Examples: Lessons from Other Pet Owners
Meet Sarah, who was trimming her sheepdog one weekend morning. Despite having done it dozens of times, her hand slipped slightly, cutting a small section of his ear. Thanks to her pre-prepared emergency kit, she managed to stop the bleeding within minutes. Her lesson? Always keep supplies ready—because life rarely gives advance notice.
Another example comes from Jake, whose cocker spaniel got tangled in briars outside. His attempt to remove them led to a nasty puncture wound. By following proper first aid steps, however, he saved her from potential complications until the vet arrived.
FAQs About Emergency First Aid for Tool Injuries
What should every pet grooming emergency kit include?
Gauze pads, antiseptic wipes, saline solution, self-adhesive bandages, tweezers, and scissors rounded at the tip.
How long does it take for a groomed wound to heal?
Minor wounds typically resolve within 7–14 days with proper care. More severe ones may require weeks under veterinary supervision.
Is shaving necessary for severely matted pets?
Sometimes yes, but it must be done professionally. Doing it incorrectly can lead to skin irritation or injury.
Conclusion
Emergencies are stressful, but preparation transforms fear into confidence. Knowing how to administer emergency first aid for tool injuries ensures safety during those inevitable grooming hiccups.
To recap:
- Accidents happen—be ready.
- Act swiftly and methodically when something goes wrong.
- Invest in quality tools and continuous education to prevent future mishaps.
Haiku Time:
Furry friends get hurt,
But love heals every boo-boo,
Groom wisely next time.